
You’ve probably seen those incredible AI-generated photos floating around – people transforming themselves into astronauts, medieval knights, or movie stars, all with their own recognizable faces. It looks amazing, right? Naturally, you want to jump in and create some hyper-realistic AI photos of your face.
But then you try it. You type in a few words, upload a photo, and what do you get? Something… close, but not quite you. Maybe your eyes are a little off, your smile feels forced, or you look like a distant cousin rather than an identical twin. It’s frustrating when the AI struggles to capture your unique identity, isn’t it?
Don’t worry, you’re not alone. Getting AI to produce truly realistic images of a specific person, especially yourself, is one of the trickiest parts of prompt engineering. It goes way beyond just saying “make me look like a superhero.” It requires a deeper understanding of how these powerful tools interpret your requests and, crucially, how they handle human identity.
This guide is your shortcut to mastering that challenge. We’re going to dive deep into the world of AI photo prompts, moving past the basics to give you actionable strategies for generating stunning, realistic images that look undeniably like you. We’ll cover everything from foundational prompt elements to advanced consistency techniques, ethical considerations, and even what to do after the image is generated.
Why Getting “You” Right is So Tricky for AI
Think about it: your face is incredibly complex. It’s not just a collection of features; it’s the subtle interplay of your bone structure, skin texture, unique eye shape, the way your lips curve when you smile, and the tiny lines that tell your story. Humans are wired to recognize faces, so we instantly spot even the smallest discrepancies.
AI models, for all their brilliance, don’t “understand” a face in the same way we do. They’ve been trained on billions of images, learning patterns and correlations. When you ask it to generate your face, it’s trying to piece together a new image based on what it knows about human faces in general, combined with any specific input you give it.
The problem is, your face is unique. It’s an outlier in a sea of general human faces. The AI might grab your hair color, maybe your general nose shape, but it often struggles with the subtle nuances that make you you. This is why you often end up with images that skirt the edges of the “uncanny valley” – that unsettling feeling when something looks almost human, but just wrong enough to be creepy.
Capturing your exact identity isn’t just about avoiding the uncanny valley; it’s about maintaining consistency across different generations, poses, and expressions. That’s the real challenge we’re here to conquer.
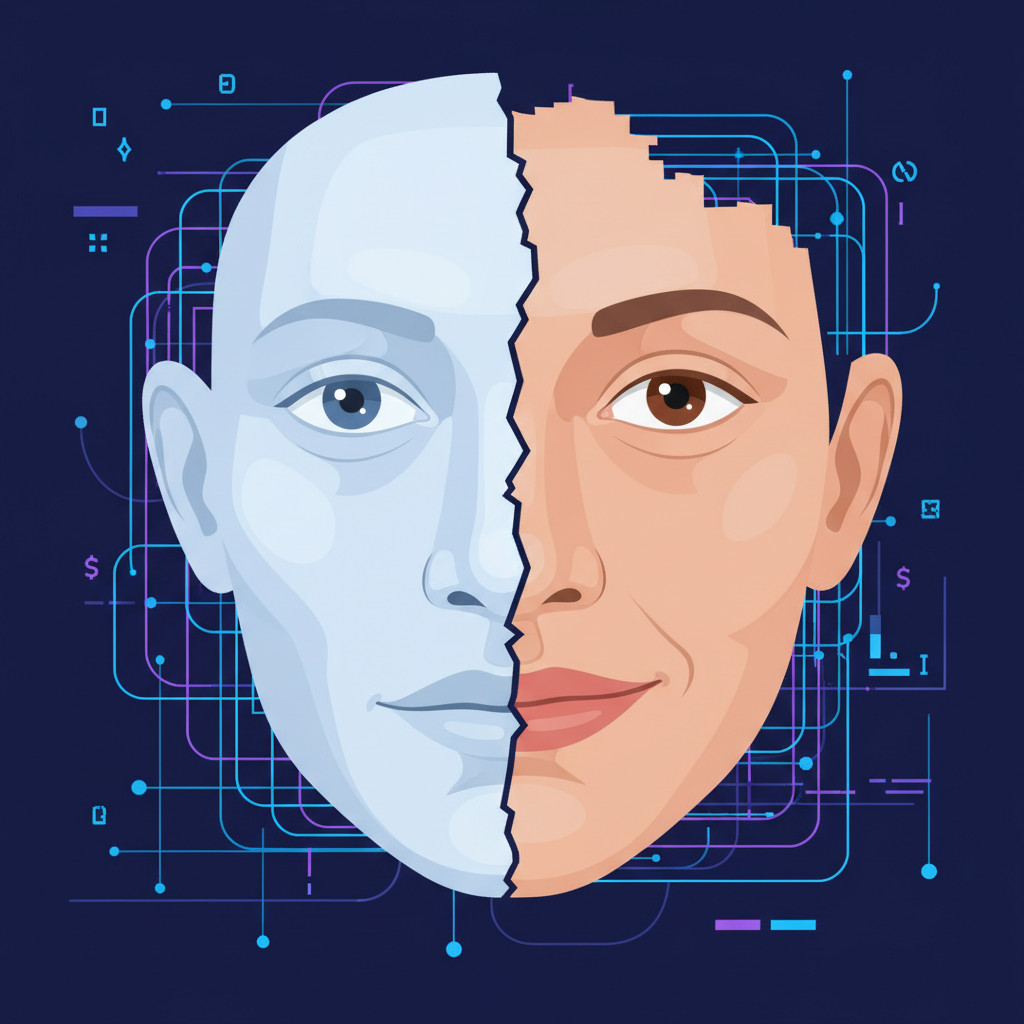
The Foundation: Essential Prompt Elements for Your Face
Before we get into the advanced stuff, let’s lay down the groundwork. Every great AI photo prompt starts with these core components. Think of them as the building blocks for your digital self.
Your Core Identity: The Absolute Must-Haves
This is where you tell the AI who it’s supposed to be rendering. Don’t skip details here.
- Using Photo References (The Absolute Must): This is the single most important tool you have. Most modern AI image generators allow you to upload one or more reference images.
- How it works: You usually provide an image URL or upload it directly. The AI then uses this visual data as a guide. Different models have different syntaxes for this (e.g., Midjourney’s image prompts or Stable Diffusion’s controlnets/IP-Adapter).
- Quality is Key: Don’t just pick any selfie. Choose well-lit, clear photos where your face is easily visible, facing the camera, and with a neutral or natural expression. Avoid blurry, pixelated, or heavily filtered images. The better your reference, the better the AI can “learn” your features.
- Detailed Descriptions: Even with a reference image, text descriptions are crucial. They reinforce your identity and guide the AI.
- Age and Gender: “a 30-year-old woman,” “a middle-aged man.” Be specific.
- Hair: “long wavy brown hair,” “short curly blonde hair,” “receding hairline,” “neatly combed.”
- Eyes: “bright blue eyes,” “dark brown almond-shaped eyes,” “hazel eyes with long lashes.”
- Specific Facial Features: This is where you really make it you. “subtle dimples when smiling,” “a small mole above her left lip,” “a distinctive scar on his chin,” “a prominent nose,” “full lips.”
Context & Setting: Where Your AI Self Lives
Your environment significantly impacts the overall realism.
- Location: “in a bustling city street,” “sitting in a cozy cafe,” “standing on a mountain peak at sunrise,” “in a modern office.”
- Time of Day/Lighting: This makes a huge difference. “golden hour lighting,” “soft natural daylight,” “harsh fluorescent lighting,” “dramatic low-key lighting,” “backlit by the setting sun.”
- Outfit/Attire: “wearing a casual denim jacket,” “in a crisp white shirt and tie,” “elegant evening gown,” “comfortable hoodie.” Be specific about colors and styles if they’re important.
Expression & Pose: Showing Your Personality
How you present yourself in the image adds another layer of realism.
- Expression: “a subtle smile,” “a contemplative look,” “laughing heartily,” “serious and focused,” “a surprised expression.”
- Pose: “looking directly at the camera,” “profile shot,” “three-quarter view,” “hands clasped thoughtfully,” “leaning against a wall.”
- Body Language: “confident stance,” “relaxed posture.”
Art Style & Realism Modifiers: Telling the AI to Be Real
This is where you explicitly tell the AI you want realism, not a cartoon or painting.
- “photorealistic,” “ultra realistic,” “hyperrealistic photography,” “8k resolution,” “detailed face,” “intricate skin texture,” “studio quality photo,” “cinematic still.”
- Avoid: “painting,” “sketch,” “illustration,” “anime,” “cartoon,” “digital art” – these will take you away from realism.
Camera & Lens Details: The Professional Touch
Adding camera specifics can make your image look like it was shot by a pro.
- “shot on a Canon R5,” “taken with a Sony Alpha 7 III,” “cinematic shot,” “professional portrait photography.”
- “50mm lens,” “85mm prime lens,” “wide-angle shot.”
- “shallow depth of field,” “bokeh background,” “sharp focus on eyes,” “natural lens flare.”
Advanced Identity Consistency Techniques: Beyond the Basics
Okay, you’ve got the basics down. Now, let’s tackle the really hard part: making sure the AI consistently generates your face, not just a generic version. This is where most people struggle, and where you can really pull ahead.
The Power of Multiple Reference Images
Using just one reference photo is like trying to describe a complex person based on a single snapshot. It gives the AI some information, but not the whole picture.
- Why one isn’t enough: Your face changes with expression, lighting, and angle. A single photo can’t capture all those nuances. The AI might latch onto a specific shadow or angle rather than your underlying bone structure.
- Using Varied Angles, Expressions, and Lighting:
- Frontal shots: Crucial for overall identity.
- Profile and three-quarter views: Help the AI understand your facial depth and shape.
- Different expressions: Smiling, serious, neutral. This teaches the AI how your features move.
- Varied lighting: Natural light, studio light, shadows. This helps the AI generalize your features beyond specific lighting conditions.
- Preparing a “Training Set”: For models like Stable Diffusion, you can create your own custom LoRA (Low-Rank Adaptation) or Dreambooth model by providing 10-20 high-quality photos of yourself. This essentially “fine-tunes” the AI to recognize your specific face. While it takes more effort, it offers the highest level of identity consistency. If you’re using a platform like Midjourney that allows multiple image prompts, provide 2-3 distinct, clear photos of yourself at the start of your prompt.
Model-Specific Identity Handling
Different AI models approach identity consistency in unique ways. Knowing these differences helps you pick the right tool or technique.
- Midjourney: Often relies heavily on its image prompt feature (
--srefin newer versions, or simply placing image URLs at the start of your text prompt). It does a decent job of blending aspects of your face, but it can struggle with perfect consistency across many generations. Version 5.2 and newer tend to be better with realism. - Stable Diffusion: This model offers a fantastic suite of tools for identity consistency:
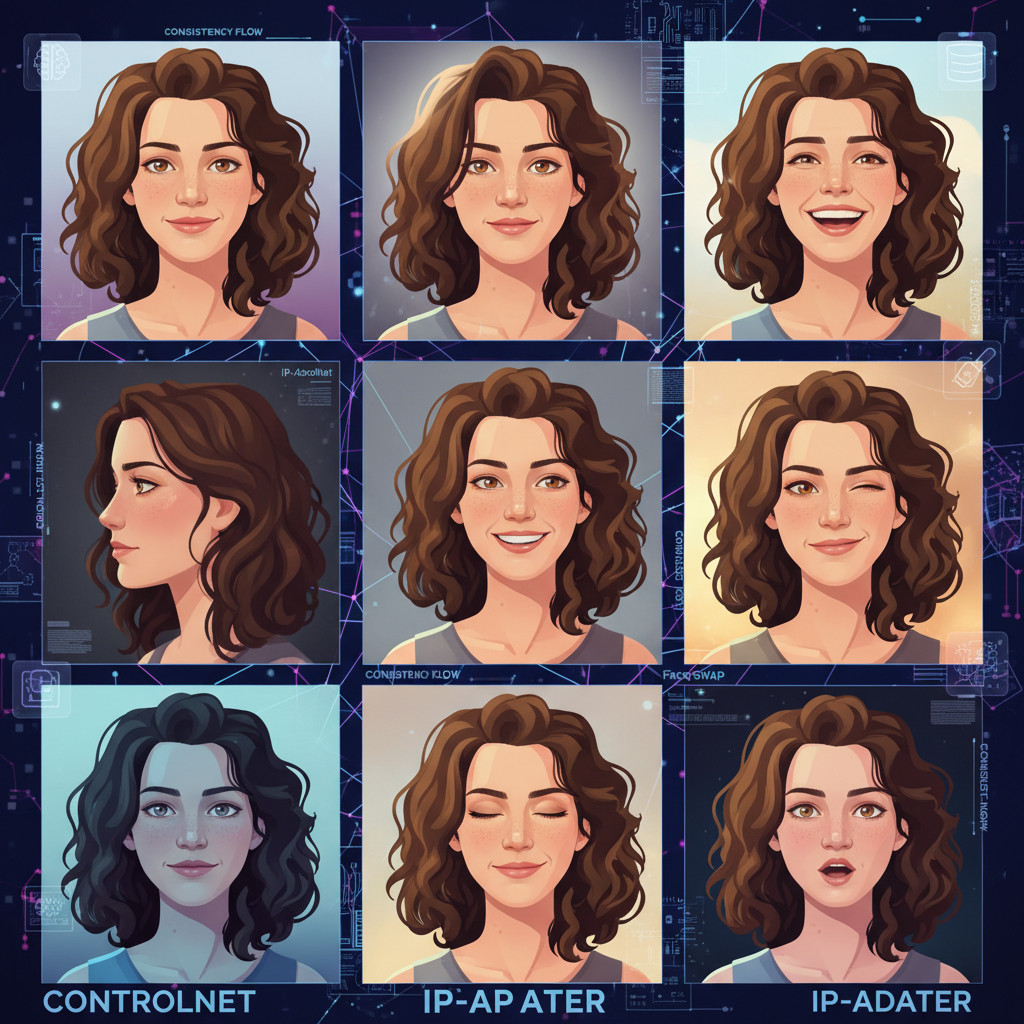
- ControlNet (IP-Adapter, Canny, OpenPose): IP-Adapter allows you to feed an image directly to influence the generated image’s style and composition, including face features. Canny and OpenPose help control pose and structure.
- Face Swap (e.g., Roop, InsightFaceSwap): These tools allow you to generate an image first and then swap a face from a reference photo onto it. This is incredibly powerful for consistent identity.
- LoRAs/Dreambooth: As mentioned, training a custom model on your face is the gold standard for Stable Diffusion, providing unparalleled control.
- DALL-E 3: While excellent at understanding complex prompts, DALL-E 3 often struggles with maintaining consistent identity across multiple images generated from the same prompt, or even within variations of a single image. It’s generally better for conceptual images than for hyper-realistic, consistent portraits of a specific person.
Workarounds for Stubborn Models
Sometimes, even with the best prompts and references, the AI just won’t quite get it right.
- Inpainting/Outpainting Specific Facial Features: Many AI tools (or their associated interfaces like Automatic1111 for Stable Diffusion) allow you to mask off a section of your generated image (like an eye or a mouth) and re-generate just that part with a new prompt. This is a lifesaver for correcting minor flaws without altering the entire image.
- Blended Images from Multiple Generations: Generate several variations. You might find that one image has perfect eyes, another has a great nose, and a third has your ideal smile. You can then use photo editing software to carefully blend these features together, creating a composite that’s closer to perfect.
Mastering Prompt Weighting and Emphasis

For models that support it (like Stable Diffusion and Midjourney to some extent), prompt weighting is a powerful way to tell the AI what’s most important in your description. It lets you prioritize certain features or concepts.
What is Prompt Weighting?
Imagine you’re giving instructions. Prompt weighting is like saying, “Pay extra attention to this part,” or “This part is less important.”
- Stable Diffusion: Uses parentheses
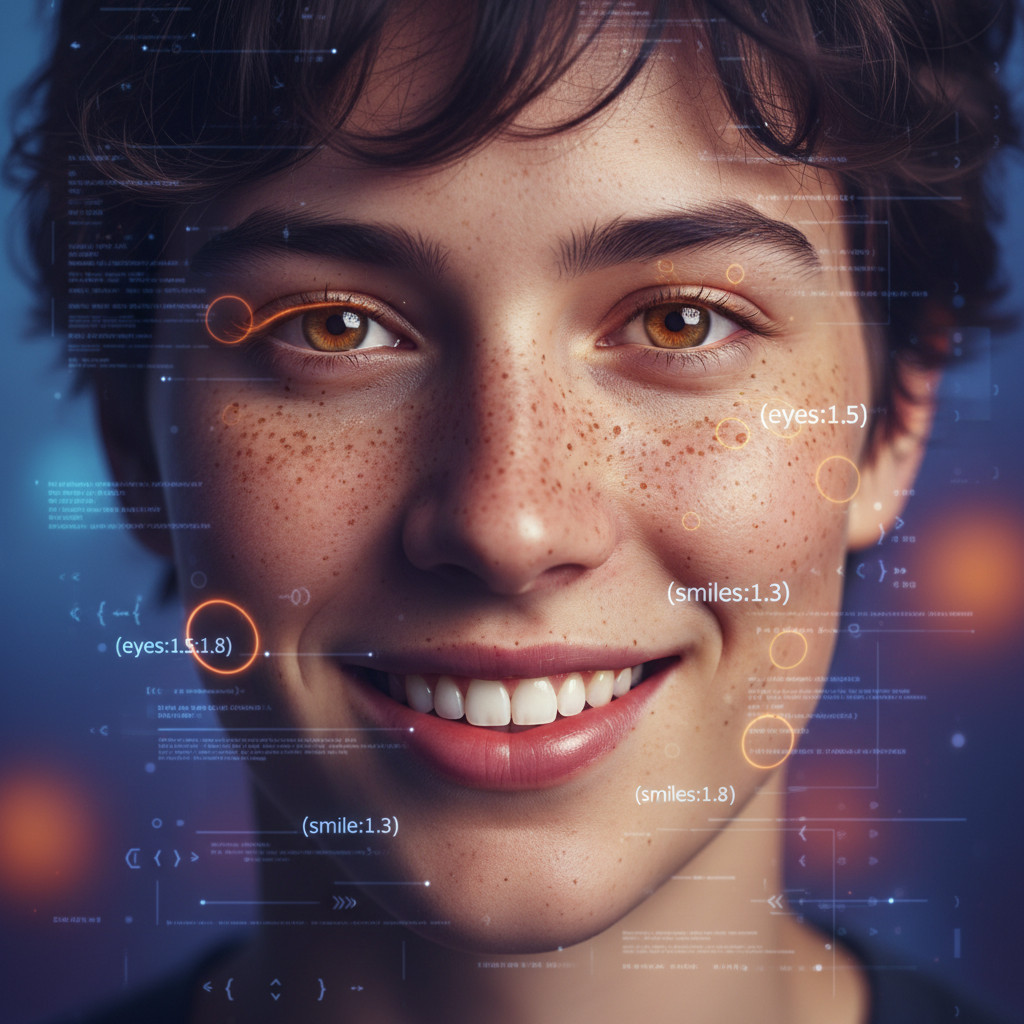
()and a colon with a number(word:weight)or double colonsword::weight. A weight greater than 1.0 increases emphasis, while less than 1.0 decreases it. For example,(blue eyes:1.2)gives “blue eyes” 20% more emphasis. - Midjourney: Uses parentheses
()for emphasis and square brackets[]for de-emphasis, though its exact weighting mechanism is less explicit than Stable Diffusion’s numerical system. For example,(a confident smile)might be stronger thana confident smile.
How to Use It for Faces
This is where you can fine-tune your identity.
- Prioritizing Your Face: You might want the AI to focus more on your facial features than on your outfit or the background. For example:
((your face details)):1.3, intricate background, wearing a simple shirt. - Emphasizing Specific Features: If the AI consistently misses your eye color or the shape of your lips, boost those elements.
(bright green eyes:1.2)(subtle, knowing smile:1.1)(distinctive cheekbones:1.05)
- De-emphasizing Unwanted Elements: If the AI keeps adding glasses when you don’t wear them, or giving you a specific hair texture you dislike, you can sometimes de-emphasize it within the positive prompt or, more effectively, use negative prompts (which we’ll cover next).
Practical Examples
Let’s say you’re a person with prominent freckles, and the AI keeps forgetting them.
- Before Weighting:
a young woman, red hair, green eyes, freckles, smiling - After Weighting:
a young woman, (red hair:1.1), (bright green eyes:1.15), (numerous prominent freckles:1.3), (a genuine smile:1.2), looking directly at the camera, photorealistic
See how we’re pushing the AI to really focus on those key identity features? This small tweak can make a huge difference in getting a result that feels more like you.
Understanding AI’s Limitations: Why It Still Messes Up Your Face
Even with the most advanced prompts, AI isn’t perfect. It’s a tool, and like any tool, it has limitations. Understanding these limitations helps you craft better prompts and manage your expectations.
Beyond the Uncanny Valley
The “uncanny valley” describes the feeling of unease we get when something looks almost human but isn’t quite right. But AI’s struggles go deeper than just being “creepy.” Often, it’s about specific, identifiable anatomical errors.
Common Facial Element Struggles
- Teeth: This is a notorious one. AI frequently generates:
- Too many or too few teeth.
- Misaligned, jagged, or unnaturally perfect, blocky white teeth.
- Teeth that look like they belong in a cartoon, not a human mouth.
- Mitigation: Often, it’s best to prompt for a closed-mouth smile or a subtle smirk if teeth are giving you trouble. If you need teeth, add modifiers like “naturally aligned teeth” or “subtle smile showing teeth.”
- Ears: Ears are complex and often get distorted, appear asymmetrical, or are partially missing, especially in profile shots or if covered by hair.
- Mitigation: Be less specific about ears unless they are a defining feature. Use strong reference images that show your ears clearly from different angles.
- Eyes: While often a strong point for AI, eyes can still go wrong:
- Cross-eyed or divergent gaze.
- Different sizes or shapes.
- A glassy, lifeless stare.
- Inconsistent direction of gaze.
- Mitigation: Specify “looking directly at camera,” “focused gaze,” “sparkling eyes.” Use negative prompts for “cross-eyed,” “lazy eye,” “uneven eyes.”
- Hands (especially near the face): Hands are still one of the hardest things for AI to render accurately, and when they’re near the face, the probability of distortion skyrockets.
- Mitigation: If you don’t need hands in the shot, prompt for poses where hands are out of frame or obscured. If you want hands near the face, be very specific about their position and purpose, e.g., “hand gently touching chin,” “fingers running through hair.” Be prepared for many re-rolls.
- Specific Angles/Profiles: If your reference images are mostly frontal, the AI will struggle to generate a consistent version of your face from a sharp profile or a dramatic upward angle. It needs to “see” your face from those perspectives to accurately reproduce them.
- Mitigation: Provide reference images that include these difficult angles. If you can’t, use strong textual descriptions and be prepared for more iteration.
Mitigation Strategies
- Be Less Specific When AI Struggles: If teeth are always bad, don’t ask for “perfect teeth.” Ask for a “closed-mouth smile” instead.
- Use Negative Prompts Aggressively: This is your best friend for avoiding common AI mistakes. Always include a comprehensive negative prompt.
negative prompt: deformed, distorted, blurry, extra limbs, ugly, disfigured, poor anatomy, bad eyes, cross-eyed, missing ears, extra teeth, too many teeth, jagged teeth, creepy smile, unnatural expression, poorly drawn, low quality
- Generate Multiple Variations and Pick the Best: Don’t settle for the first image. Generate 10-20 variations, and you’ll often find one or two that are nearly perfect.
- Use Inpainting for Correction: If only a small part is wrong (like one eye or a stray hair), use inpainting to fix just that area. This is much faster than re-generating the entire image.
Post-Generation Editing & Refinement: The Final Polish
Even with the best prompts and techniques, an AI-generated image often isn’t 100% “done.” Think of the AI as a super-talented but occasionally clumsy apprentice photographer. It gives you a fantastic raw image, but sometimes it needs a little professional polish to truly shine.
Why AI-Generated Isn’t Always “Done”
AI models are excellent at generating novel images, but they can leave behind subtle imperfections. This could be a slight asymmetry, an unnatural skin texture, a color cast, or a small artifact that breaks the illusion of realism. Just like a professional photographer edits their raw photos, you’ll often need to refine your AI creations.
Essential Photo Editing Software
You don’t need to be a Photoshop wizard, but a basic understanding of photo editing tools will elevate your AI images significantly.
- Adobe Photoshop/Lightroom: These are the industry standards. Photoshop offers unparalleled control for pixel-level editing, while Lightroom excels at color correction, tone adjustments, and batch processing. They are subscription-based but offer the most powerful features.
- GIMP/Photopea: Excellent free and open-source alternatives. GIMP is a robust desktop application, while Photopea is a browser-based editor that mimics Photoshop’s interface remarkably well. They have most of the core features you’ll need.
- Mobile Apps (FaceTune, Snapseed, Lightroom Mobile): For quick, on-the-go touch-ups, these apps are fantastic. They offer powerful tools for skin smoothing, light adjustments, and minor feature tweaks without needing a desktop computer.
Specific Refinement Techniques
Here’s how you can take your AI images from “good” to “amazing”:
- Color Correction & Grading: AI images sometimes have slightly off-kilter colors or a flat appearance.
- Adjust white balance to ensure accurate skin tones.
- Tweak exposure, contrast, highlights, and shadows for a more dynamic look.
- Use color grading tools to apply a specific mood or style (e.g., warm cinematic tones, cool desaturated look).
- Minor Feature Adjustments:
- Liquify Tool (Photoshop/GIMP): For subtle corrections to facial proportions – a slightly wider eye, a more defined jawline, straightening a slightly crooked nose. Use sparingly; too much will look unnatural.
- Skin Smoothing/Texture: AI can sometimes make skin look too perfect or too rough. Gently smooth out blemishes or add back a natural texture using subtle filters or brushes.
- Eye Enhancement: Brighten the whites of the eyes, sharpen the iris, or add a subtle catchlight to make eyes sparkle.
- Noise Reduction/Sharpening: AI images can sometimes have digital noise or appear a little soft.
- Apply noise reduction to smooth out grainy areas, especially in shadows.
- Carefully sharpen details like eyes, lips, and hair to make them pop.
- Background Blurring/Manipulation: If the AI didn’t quite nail the background, you can refine it.
- Further blur the background (bokeh effect) to make your face stand out more.
- Adjust the background’s brightness or color to better complement your portrait.
- In extreme cases, you can even replace the background entirely.
- Cloning/Healing: These tools are invaluable for removing small imperfections.
- Get rid of tiny AI artifacts or glitches.
- Remove stray hairs or minor skin blemishes that the AI introduced.
- Adding Grain/Texture: Paradoxically, sometimes adding a subtle amount of film grain or noise can make a hyper-realistic AI image feel more like a genuine photograph, especially if the AI output is too “clean” and sterile.
Ethical Considerations & Responsible Use: Your Face, Your Responsibility
Generating hyper-realistic images of yourself is incredibly powerful, but with great power comes great responsibility. It’s crucial to think about the ethical implications and use these tools responsibly.
The Power of Hyper-Realism
AI’s ability to create images that are indistinguishable from real photos is truly astonishing. When that image is your face, it brings up unique questions. The line between creative self-expression and potential misuse can be very thin.
Avoiding Misinformation & Deepfakes
This is paramount.
- Never create images of yourself in compromising or misleading situations. This includes fake news, illegal acts, or anything that could be misinterpreted as real.
- Always disclose when an image is AI-generated, especially if it’s highly realistic and shared publicly. A simple “AI-generated image” watermark or caption is often enough. Transparency builds trust.
- Understand the “deepfake” problem. The technology you’re using contributes to the broader landscape of AI-generated media. Using it responsibly helps maintain trust in digital content and prevents its misuse for manipulation or defamation.
Respecting Others & Consent
While this article focuses on your face, the principles extend to others.
- Never generate images of other people without their explicit, informed consent. Creating images of someone without their knowledge or permission is a serious breach of privacy and can have legal and ethical consequences.
- Understand the terms of service of the AI model you’re using. Many platforms have strict rules about generating images of identifiable individuals, especially public figures or children, to prevent misuse.
Personal Use vs. Public Sharing
- Be mindful of how and where you share these images. A fun AI portrait for your personal collection is one thing; sharing a highly realistic, context-less image on social media is another.
- Consider the potential for misinterpretation or abuse by others. Once an image is online, it can be taken out of context or manipulated further. Think about the potential consequences before hitting that “share” button.
By being thoughtful and ethical in your use of these powerful tools, you help ensure a positive and responsible future for AI-generated content.
Putting It All Together: Crafting Your Perfect Prompt
Now you have all the pieces. Let’s combine them into a step-by-step approach for crafting truly effective prompts for your face.
- Start with Strong Reference Images: Upload 2-3 clear, well-lit photos of yourself showing different angles and expressions. Place them at the very beginning of your prompt or use your model’s specific reference feature (e.g.,
--srefin Midjourney, IP-Adapter in Stable Diffusion). - Describe Your Core Features: Be specific about age, gender, hair, eyes, and any unique facial markers.
- Example: “A 32-year-old Caucasian woman with long, wavy dark brown hair, bright hazel eyes, and a small beauty mark on her right cheek.”
- Add Context (Setting, Lighting, Outfit): Paint a picture of the scene.
- Example: “sitting in a sunlit art studio, wearing a loose-fitting cream sweater, soft natural window light.”
- Specify Desired Expression/Pose: How do you want to appear?
- Example: “with a thoughtful, serene expression, looking slightly off-camera, hands gently resting on a clay pot.”
- Include Realism Modifiers: Tell the AI to make it look like a photo.
- Example: “photorealistic, hyperdetailed, professional portrait quality, 8k.”
- Refine with Camera/Lens Details: Add that professional photography touch.
- Example: “shot on a FujiFilm GFX 100S with a 110mm f/2 lens, shallow depth of field, subtle bokeh.”
- Use Negative Prompts: List everything you don’t want to see. This is crucial for realism.
- Example:
negative prompt: deformed, blurry, extra limbs, ugly, disfigured, poor anatomy, bad eyes, cross-eyed, missing ears, extra teeth, creepy smile, unnatural expression, poorly drawn, low quality, cartoon, illustration, painting
- Example:
- Apply Weighting for Focus (if your model supports it): Emphasize key identity features.
- Example (combining previous parts and adding weighting):
[Image URL 1] [Image URL 2] a 32-year-old Caucasian woman with (long, wavy dark brown hair:1.1), (bright hazel eyes:1.2), and a (small beauty mark on her right cheek:1.3), sitting in a sunlit art studio, wearing a loose-fitting cream sweater, soft natural window light, with a (thoughtful, serene expression:1.2), looking slightly off-camera, hands gently resting on a clay pot, photorealistic, hyperdetailed, professional portrait quality, 8k, shot on a FujiFilm GFX 100S with a 110mm f/2 lens, shallow depth of field, subtle bokeh --ar 2:3 --style raw --v 5.2(Midjourney example, adjust for your chosen model).
- Example (combining previous parts and adding weighting):
- Iterate, Iterate, Iterate! Generate multiple versions. Tweak your prompt, adjust weights, change modifiers. This is an iterative process. You won’t get perfection on the first try, but you’ll get closer with each refinement.
By following these steps and leveraging the advanced techniques we’ve discussed, you’re now equipped to create truly stunning, realistic AI photos of your face. It takes practice, but the results are incredibly rewarding.
Frequently Asked Questions
Can AI models “learn” my face from just one photo?
It’s possible, but generally not recommended for truly realistic and consistent results. Most AI models need more data to accurately capture your unique facial features. A single photo only provides one angle, one expression, and one lighting condition. For best results, use multiple high-quality reference photos (at least 3-5, ideally more) that show your face from different angles, with varied expressions, and under different lighting. This gives the AI a much better understanding of your identity.
How do I stop AI from making me look like a completely different person?
The key here is strong identity consistency. First, always provide high-quality reference photos of yourself. Second, include detailed textual descriptions of your unique facial features (eye color, hair style, specific moles or scars). Third, use prompt weighting (if your model supports it) to emphasize these identity elements. Finally, leverage negative prompts to actively exclude generic or undesirable features that don’t match you, like “generic face,” “different person,” or “unnatural features.”
Is it safe to upload my photos to AI generators?
Generally, reputable AI platforms have security measures in place to protect your data. However, there’s always a degree of risk with uploading personal images to any online service. Read the platform’s privacy policy and terms of service carefully to understand how your photos are stored, used, and if they’re used for model training. For maximum privacy, avoid uploading highly sensitive photos. For the most secure and private option, consider using local, open-source AI models like Stable Diffusion on your own computer, where your images never leave your machine.