The desire for aesthetically pleasing winter photos often clashes with the reality of accessing picturesque snowy landscapes or enduring freezing temperatures. Capturing that perfect “winter wonderland” shot can be challenging, requiring specific weather conditions, professional equipment, and considerable effort. However, a viral sensation has emerged on social media, allowing anyone to transform ordinary photos into breathtaking snowy scenes with remarkable ease: the AI Snow Trend. This guide provides a definitive, step-by-step approach to mastering this trend, ensuring your photos evoke the magic of winter in mere seconds.

Structure Map
- What is the AI Snow Trend?
- Choosing Your AI Snow Tool
- Step-by-Step: Adding AI Snow to Your Photos
- Expert Improvement Tips
- Conclusion
- Frequently Asked Questions
What is the AI Snow Trend?
The AI Snow Trend involves using artificial intelligence to add realistic or stylized snow effects to existing photographs, transforming them into cinematic winter scenes. This trend gained significant traction on platforms like Instagram and TikTok, driven by its ability to create dreamy, K-drama-esque winter aesthetics without requiring actual snow or advanced editing skills. Instead of merely overlaying a snow filter, sophisticated AI tools analyze the image, adjust lighting, add natural reflections, and sometimes even subtly refine skin tones to match the cold atmosphere. This process allows individuals to instantly participate in a popular aesthetic, turning everyday portraits or landscapes into enchanting, snow-covered visuals that appear professionally shot.
Choosing Your AI Snow Tool
Several AI-powered applications and platforms facilitate the creation of AI snow photos, each with unique features and user experiences. The key is selecting a tool that aligns with your desired level of control and the specific aesthetic you aim to achieve.
- Dedicated AI Photo Editing Apps: Apps like Meitu, BeautyPlus, and BeautyCam have popularized this trend, offering specialized AI snow filters and templates. These apps often feature built-in effects such as “Snowy Moments,” “Snow Villa,” or “Snowy Night,” which can be applied with a single tap. They are generally user-friendly and designed for quick, mobile-based editing.
- Generative AI Platforms: Tools like Google Gemini (often utilizing the Nano Banana model) allow for more creative control through text prompts. You upload an image and then describe the desired snow scene and aesthetic, allowing the AI to generate a unique interpretation. Other platforms like Fotor or YouCam AI Pro also offer AI snow capabilities, sometimes with both templates and prompt-based generation.
- General AI Image Editors: Some broader AI image editing tools may include features to add or enhance snow. These might require more manual adjustment or specific knowledge of prompt engineering for optimal results.
When selecting a tool, consider factors such as ease of use, cost (many offer free trials or limited free features), and the realism or artistry of the generated snow effects.
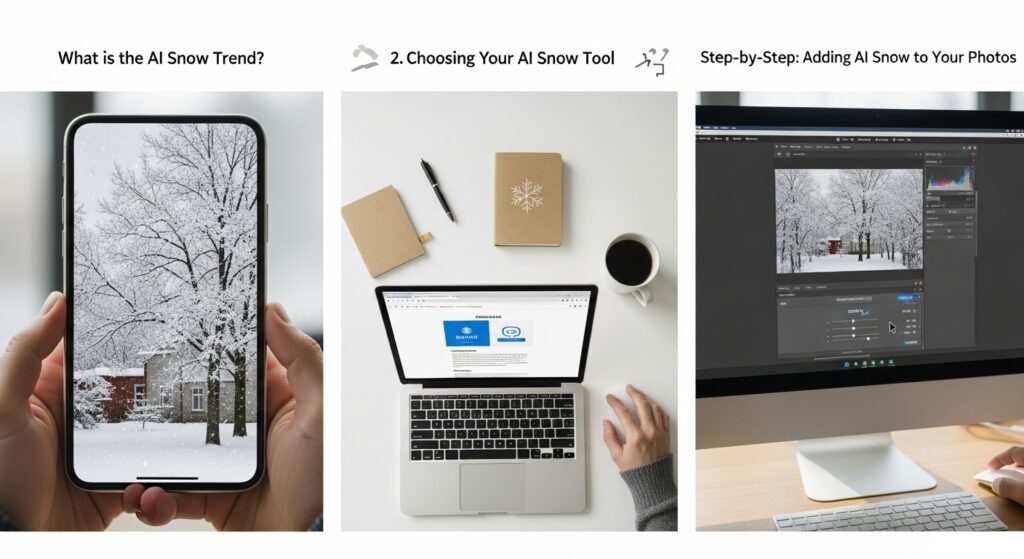
Step-by-Step: Adding AI Snow to Your Photos
Creating your AI snow photos is a straightforward process, regardless of the tool you choose. Here’s a general guide:
Preparing Your Original Photo
The quality of your final AI snow photo heavily depends on the source image.
- Select a High-Quality Portrait: Choose a clear, well-lit portrait photo where your face is visible and in focus. Close-up shots with distinct facial features often yield the most realistic results.
- Consider Hair and Composition: Photos with loose hair or bangs tend to look softer and more natural after AI processing, contributing to an effortless winter-romance vibe. A variety of angles and expressions can also help the AI generate more natural and authentic images.
- Avoid Obstructions: Ensure no objects are obscuring your face or the main subject, as this can confuse the AI and lead to unnatural outcomes.
Applying and Customizing the Snow Effect
Once your photo is ready, the application process is quick.
- Upload Your Photo: Open your chosen AI app or platform and upload the photo you wish to transform.
- Access AI Snow Features: Navigate to the AI art, AI filter, or image generation section of the tool. Look for options specifically related to snow, winter scenes, or AI templates.
- Apply the Effect:
- For Template-Based Apps: Select a desired snow template or style (e.g., “Snowy Moments,” “Snow Night,” “Winterveil”). The AI will automatically process your image.
- For Prompt-Based Tools: Enter a descriptive prompt. For example, “Generate a photo of me in a soft, snowy forest with cinematic blue tones and falling snowflakes”. You can specify details like lighting, mood, and snow density.
- Review and Adjust: After the initial generation, examine the result. Many apps offer options to adjust the intensity of the snow, its density, or even add other winter elements. Some tools also allow you to tweak lighting and color to better match your preference. Pro TipIf the first attempt yields an unnatural result, try a different source photo or experiment with varying prompts or templates. Slight changes can significantly enhance the AI’s ability to produce flawless renderings.
- Save and Share: Once satisfied, save your new AI snow photo. Most platforms allow high-quality downloads ready for sharing on Instagram, TikTok, or other social media channels.
Expert Improvement Tips
To make your AI snow photos truly stand out, consider these advanced strategies:
- Harmonize Lighting: Pay attention to the original photo’s lighting. If the original is brightly lit, a soft, diffused snow effect will look more realistic. For moody, dramatic lighting, a heavier snowfall with subtle shadows can enhance the scene.
- Incorporate Other Winter Elements: Beyond snow, consider adding subtle AI-generated elements like frosty breath, visible steam from a hot beverage, or slight icicles if the context allows. Some tools can generate these based on detailed prompts.
- Maintain Realism: While the trend is about enhancement, avoid over-processing. Too much snow, unrealistic lighting, or drastic facial alterations can detract from the natural appeal. Aim for a balanced, believable transformation.
- Experiment with Multi-Panel Compositions: Some AI tools offer multi-panel or triptych layouts, which can create a more narrative and cinematic feel, showcasing different aspects of the snowy scene.
- Batch Processing for Consistency: If creating a series of photos, some advanced AI editors allow for batch processing, ensuring a consistent snow effect and aesthetic across multiple images.

Conclusion
The AI Snow Trend offers an accessible and creative avenue to produce stunning winter photographs, sidestepping the logistical challenges of real-world winter photography. By understanding the capabilities of various AI tools, carefully selecting your source images, and applying thoughtful customization, you can consistently generate magical, high-quality winter scenes. This instructional guide provides the foundational knowledge and advanced tips necessary to transform your photos into captivating snowy masterpieces, ready to garner attention across your social media feeds.
Frequently Asked Questions
Q1: Is the AI Snow Trend free to use?
A1: Many apps and platforms offer free trials, limited free features, or a certain number of free credits. Full access to all templates and advanced features may require a subscription or in-app purchase.
Q2: What kind of photos work best for the AI Snow Trend?
A2: Clear, well-lit portraits with distinct facial features and a clean background generally yield the best and most realistic results. Photos where hair slightly covers the face can also enhance the “winter romance” aesthetic.
Q3: Can I use the AI Snow Trend for landscape photos, or just portraits?
A3: While portraits are popular, many AI tools can also effectively add snow to landscapes, cityscapes, and even pet photos, transforming them into beautiful winter scenes.
Q4: Do I need strong internet to use these AI snow apps?
A4: Yes, most AI image generation and editing processes require an internet connection to access the cloud-based AI models. Fast internet will ensure quicker processing times.
Q5: Can I control the intensity of the snow effect?
A5: Many dedicated AI photo editing apps and prompt-based AI platforms offer customization options to adjust the density, size, and even the “movement” of the snowflakes, allowing for subtle or heavy snowfall effects.
Q6: What if the AI generates an unnatural-looking photo?
A6: This can happen. Try using a different source photo, adjusting your prompt (if applicable), or experimenting with another snow template within the app. Sometimes, simply regenerating the image can produce a better outcome.
Q7: Is it possible to animate AI snow photos?
A7: Yes, some advanced tools and video editors like CapCut or FlexClip, when combined with AI-generated images, allow you to animate static snow photos into short videos with falling snow, perfect for reels and stories.
Q8: Are there any ethical considerations when using AI for photos?
A8: While generally harmless for personal use, be mindful of misrepresenting reality, especially if photos are used in a professional or journalistic context. Always disclose when an image has been AI-generated if clarity is required.
Q9: Can I add other winter elements besides snow with AI?
A9: Depending on the tool and your prompt (for generative AI), you can often specify additional elements like frost on surfaces, misty breath, or even a soft winter glow to enhance the overall atmosphere.
Q10: Are AI snow photos watermarked?
A10: This varies by app. Free versions or trials might include watermarks, while premium subscriptions or one-time purchases often allow for watermark-free downloads.